Specialising in Cloud Architecture and Application Modernisation, Saha Merlin is a Cloud Solutions Architect and DevSecOps Specialist who helps organizations build scalable, secure, and sustainable infrastructure. With six years of specialized experience in highly regulated industries—split equally between insurance and finance—he brings deep understanding of compliance requirements and industry-specific challenges to his technical implementations.
His expertise spans various deployment models including Container-as-a-Service (CaaS), Infrastructure-as-a-Service (IaaS), and serverless platforms that drive business outcomes through technical excellence. He strategically implements open source technologies, particularly when SaaS solutions fall short or when greater control and autonomy are essential to meeting business requirements.
Saha integrates DevSecOps practices, Green IT principles to minimize environmental impact, and Generative AI to accelerate innovation. With a solid foundation in Software Engineering and nine years of diverse industry experience, he designs cloud-native solutions that align with both industry standards and emerging technological trends.
Merlin Saha — Cloud, DevSecOps, MLOps & AI Systems
13 posts
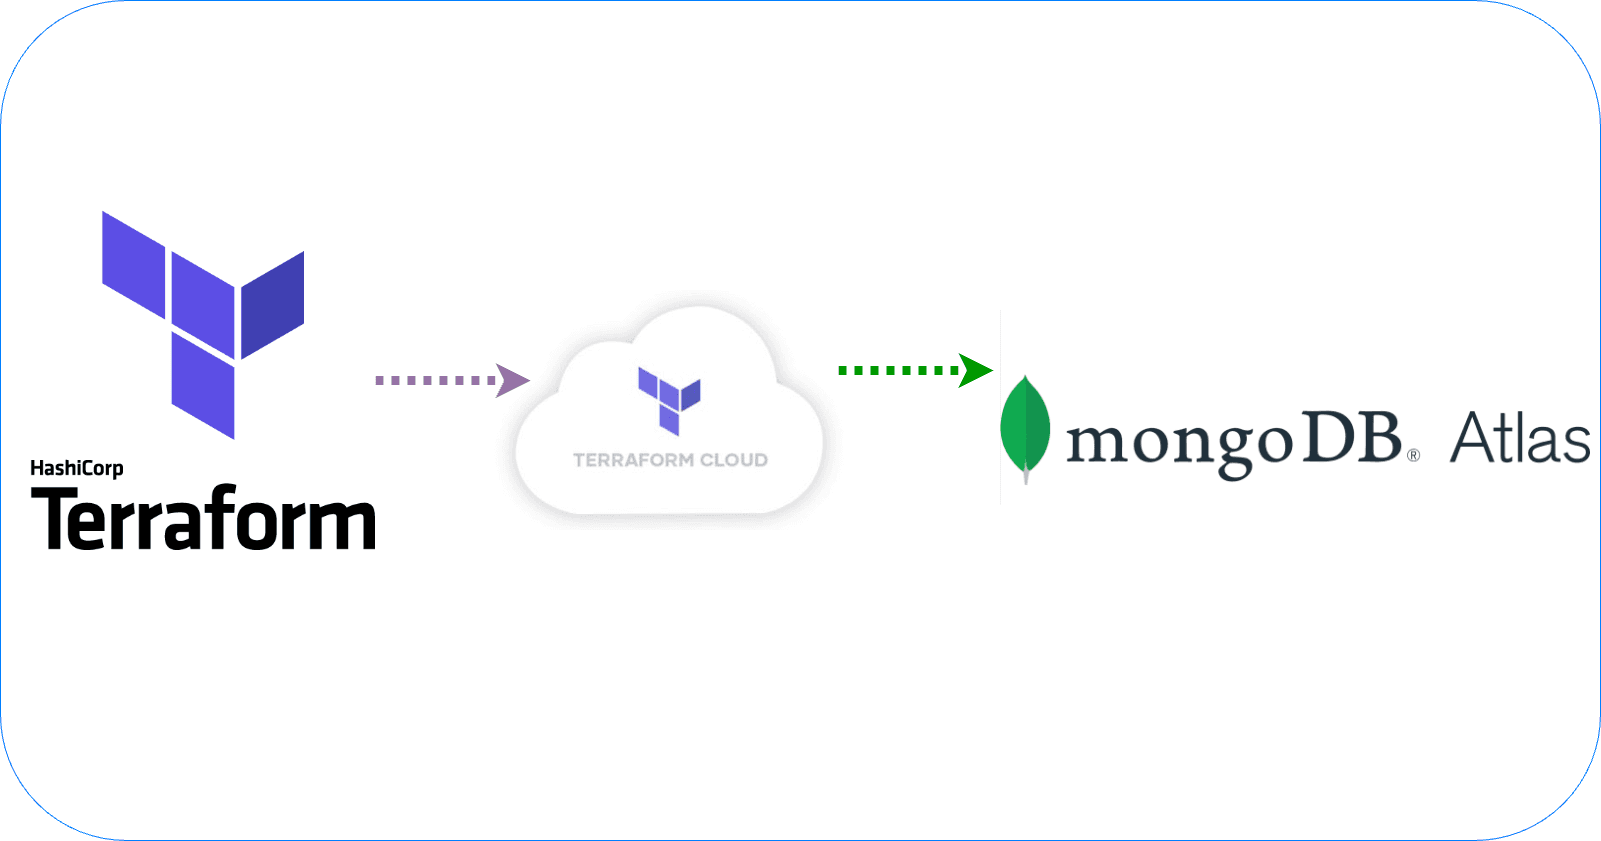
We'll walk through the process of creating MongoDB Atlas resources using Terraform and Terraform Cloud. Terraform is an open-source infrastructure as code (IaC) tool that allows you to provision and manage cloud resources in a declarative way. MongoDB Atlas is a fully-managed cloud database service provided by MongoDB. By combining Terraform and Terraform Cloud, we can streamline the process of provisioning and managing our MongoDB Atlas resources.
If you prefer French, you can watch the video version here
Create a new workspace: you need to choose the best option for your use case (just read each option description), here we will choose CLI-Driven Workflow
Run terraform plan to preview the changes Terraform will make
This command analyzes your Terraform configuration files and compares them to the existing infrastructure (if any) managed by Terraform. It then generates a detailed plan outlining the actions Terraform will take to achieve the desired state defined in your configuration. The plan will typically show:
Resources to be created
Resources to be modified (attributes changing)
Resources to be destroyed (if present)
Review the plan output and ensure everything looks correct
Run terraform apply to create the MongoDB Atlas resources
Once you've reviewed and approved the plan generated by terraform plan, you can use the apply command to execute the planned actions. This will create, modify, or destroy resources as outlined in the plan.
Important points aboutapply:
Irreversible changes: Applying the plan makes permanent changes to your infrastructure. Make sure you understand the plan and have backups before proceeding.
Confirmation prompt: By default, apply will prompt you for confirmation before making any changes.
if you get error while applying , make sure your IP address is added to Error: error creating Project: POSThttps://cloud.mongodb.com/api/atlas/v1.0/groups: 403 (request "IP_ADDRESS_NOT_ON_ACCESS_LIST") IP address your_ip is not allowed to access this resource.
Verify that your ressource is avaible on MongoDB Atlas
Step 5: Destroy MongoDB Atlas Resources
After you've finished working with the MongoDB Atlas resources created using Terraform, you can destroy them to avoid incurring unnecessary costs. Here's how:
Run terraform plan -destroy to see which resources will be destroyed
Review the plan output to ensure you're destroying the correct resources
Run terraform destroy to destroy all the MongoDB Atlas resources you created
Terraform will prompt you to confirm the destruction of resources
Type "yes" and press Enter to confirm
It's important to note that the terraform destroy command will permanently delete all the resources defined in your Terraform configuration. Make sure to back up any important data before running this command.
You can also trigger a "Destroy" run from the user interface to destroy the resources managed by your workspace.
Congratulations !
Using Terraform and Terraform Cloud for managing MongoDB Atlas resources offers several key benefits and advantages:
Infrastructure as Code: Terraform allows you to define your MongoDB Atlas resources as code, making it easier to manage, version, and collaborate on your infrastructure configurations.
Version Control: By storing your Terraform configurations in a version control system like Git, you can track changes, revert to previous states, and collaborate with team members more effectively.
Automated Workflows: Terraform Cloud enables automated workflows for provisioning and managing your MongoDB Atlas resources. You can trigger runs based on various events, such as code changes or scheduled intervals, streamlining the deployment process.
Collaboration and Governance: Terraform Cloud provides features for team collaboration, including access controls, policy enforcement, and centralized management of Terraform configurations and state files.
Consistency and Reproducibility: With Terraform, you can ensure consistent and reproducible deployments of your MongoDB Atlas resources across different environments (development, staging, production), reducing the risk of configuration drift.
Resource Lifecycle Management: Terraform not only provisions resources but also manages their lifecycle. You can easily update or destroy resources as needed, ensuring efficient resource management and cost optimization.
Multi-Cloud and Multi-Provider Support: While this blog post focuses on MongoDB Atlas, Terraform supports a wide range of cloud providers and services, making it a versatile tool for managing your entire infrastructure.
By leveraging Terraform and Terraform Cloud for managing MongoDB Atlas resources, you can benefit from a streamlined, version-controlled, and collaborative approach to infrastructure provisioning and management. This not only improves efficiency and consistency but also enables better governance, compliance, and cost optimization for your MongoDB Atlas deployments.